
For this week's flashlight assignment, I decided to make an astronomy flashlight. As anyone who has dabbled in astrophotography would know, ANY light is a real nuisance. It is hard enough to find a Dark Sky site without having your own glaring lights mucking this up. Red light, however, is acceptable in these circumstances, both for getting around and for avoiding interfering too much with your lighting conditions.
I decided to limit myself to freely available materials, which in this case meant lots of cardboard. I began to play around with a few ways of cutting cardboard so that I would be able to bend it into semi-cylindrical shapes.

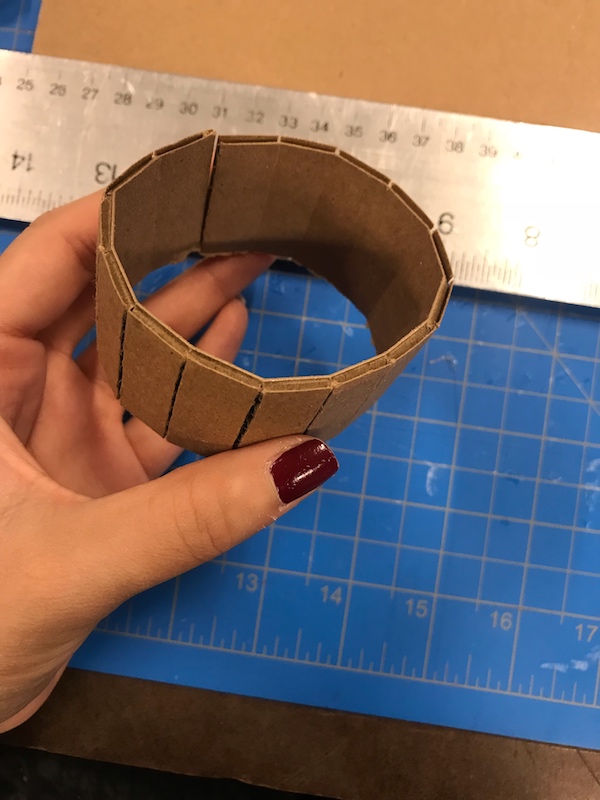
This was somewhat fruitful. I decided I would actually lasercut the main body of the flashlight, in part inspired by the following lamp: https://www.thingiverse.com/thing:14440. It's an aesthetic.
I laser-cut and hot-glued lots and cutout ovals. I created a little inset in three of my cutouts to make room for the toggle switch I planned to use.
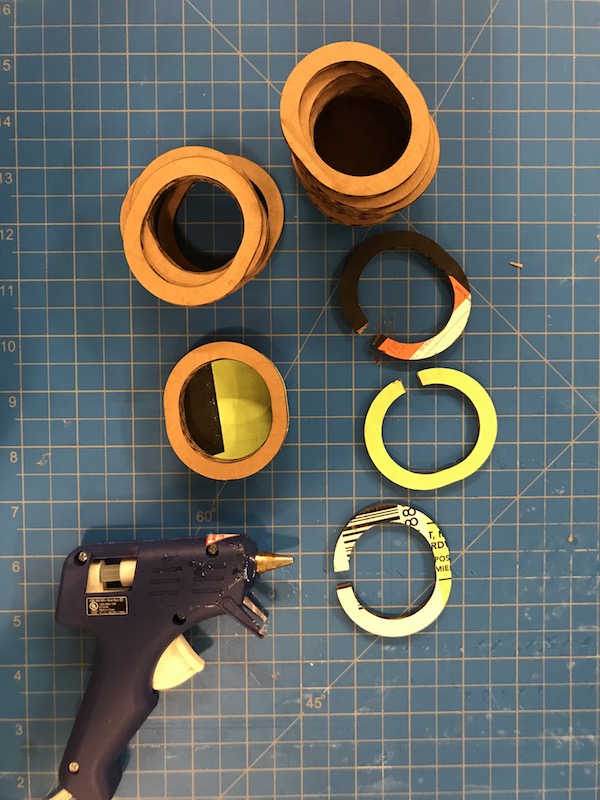
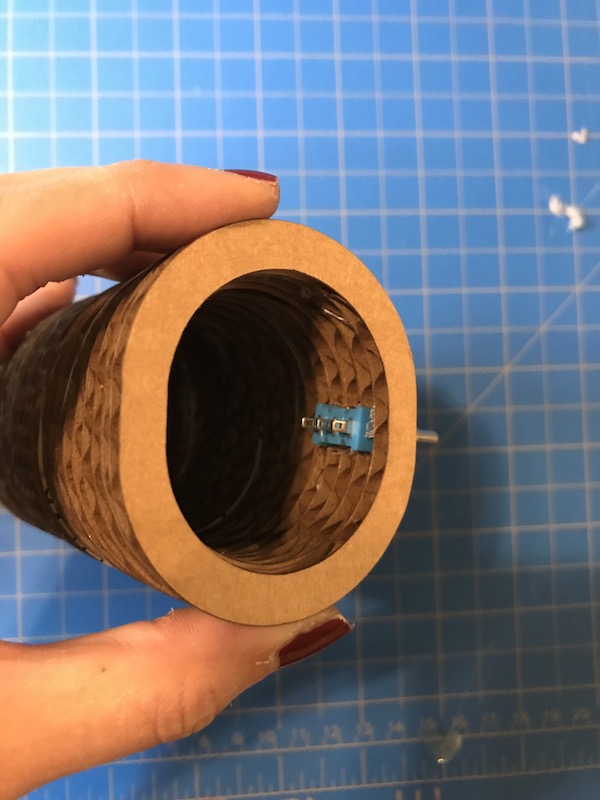
I created a little inset in three of my cutouts to make room for the toggle switch I planned to use. Not necessarily super proud of this method, but it's basically kept in place by hot glue.
Aside from the cutout ovals, I kept two ovals whole (one for the bottom of the flashlight, and another to insert the LEDs into).
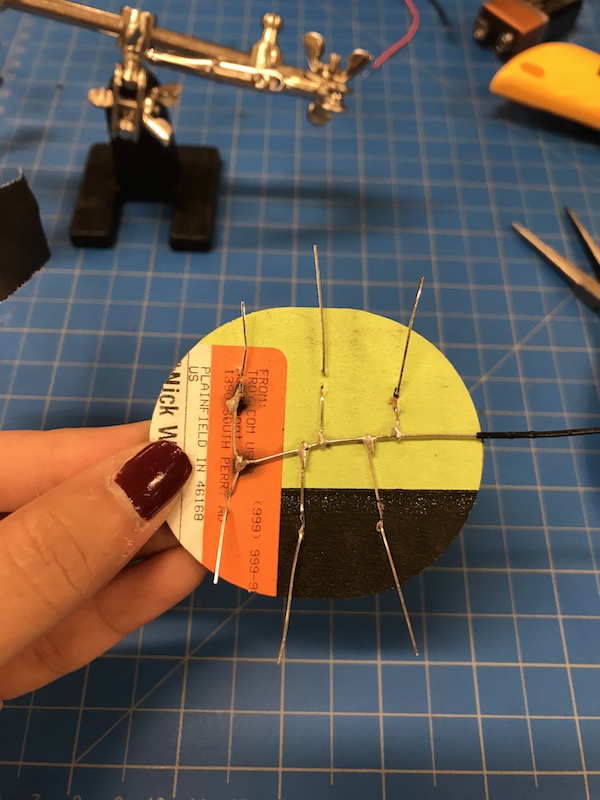
I cut 6 small incisions on the latter oval, and inserted 6 red LEDs. Basically, I tried to organize them so that their anodes were on the outer edge of the oval, and the cathodes were towards the center. It helped me stay organized as I began to solder.
I first connected all the cathodes to what would be my wire going to ground.
Once the solder had cooled, I cut away excess wire to minimize spark points, and then covered the exposes wires with gaffer tape.
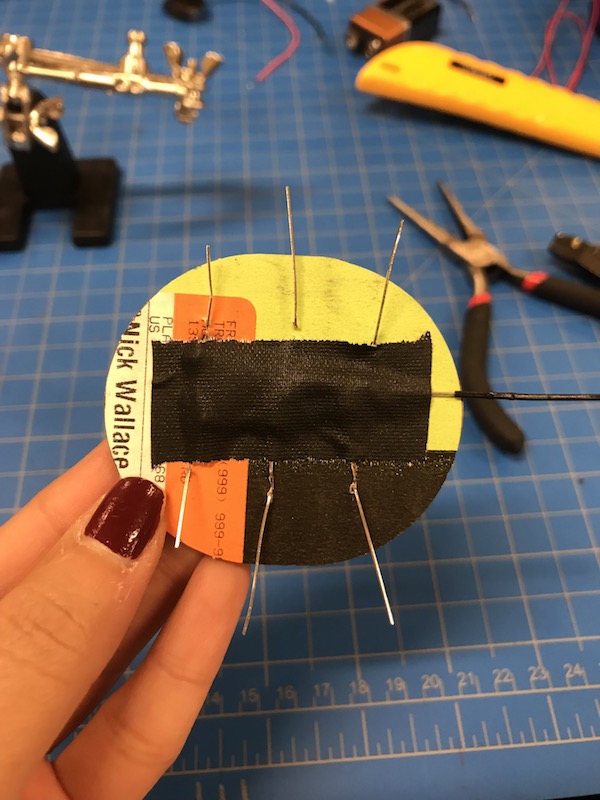
Next, I connected all the anodes with the wire that would be going to my voltage source, repeating the process of soldering and insulating.

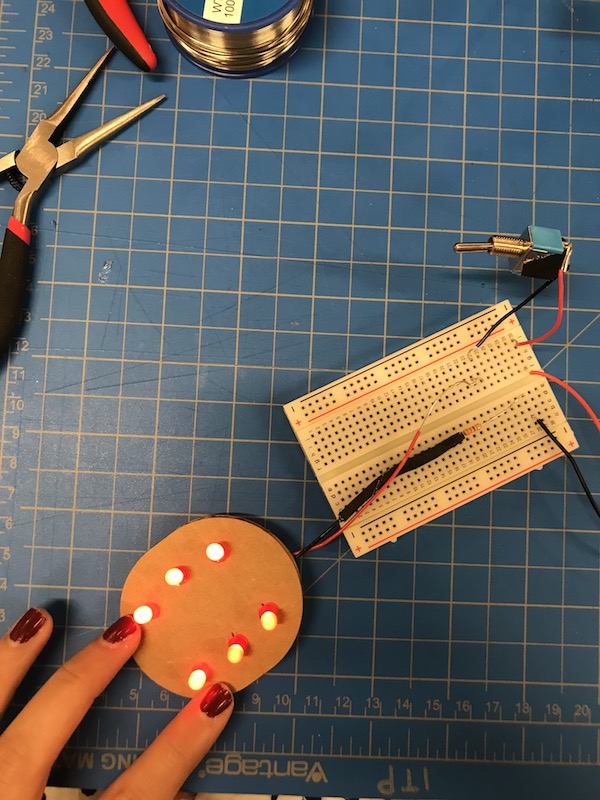
Once I had connected the LEDs, I decided to take a pause and test on a breakboard before I went any further. I wanted to make sure I knew exactly how I planned to connect the toggle switch and my 9V batter before I continued. Luckily, it all worked as I thought it would.
Next, I soldered and insulated the final pieces into place (basically mimicking my breadboard, but this time with the “real” components).
I decided to attach my “test” cardboard (from the very first two pictures) around my LEDs, to rim the edge.
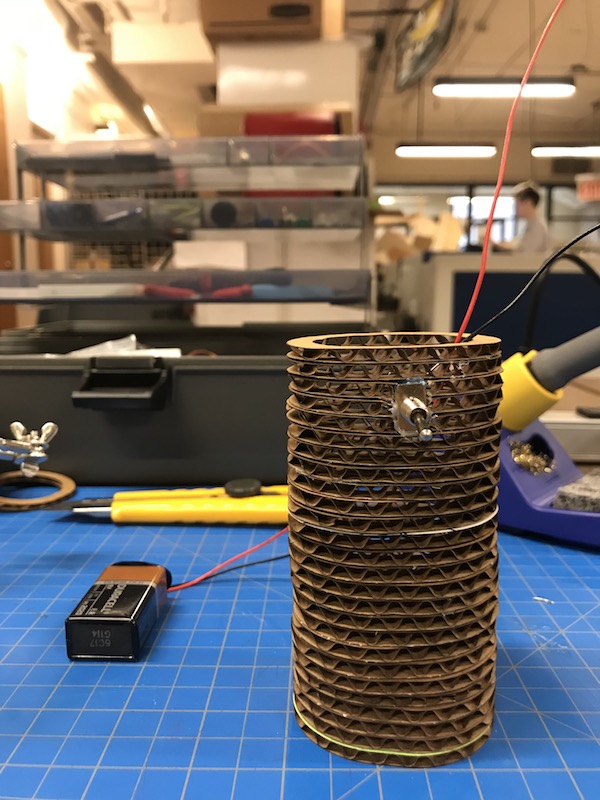
Here’s how the final piece came out: