
This summer, I went to the Hackers on Planet Earth (HOPE) conference and had a lot of fun in their lockpicking village. Basically, they had variety of locks hanging out on a table for folks to pick, and I especially loved this all-in-one picking station:
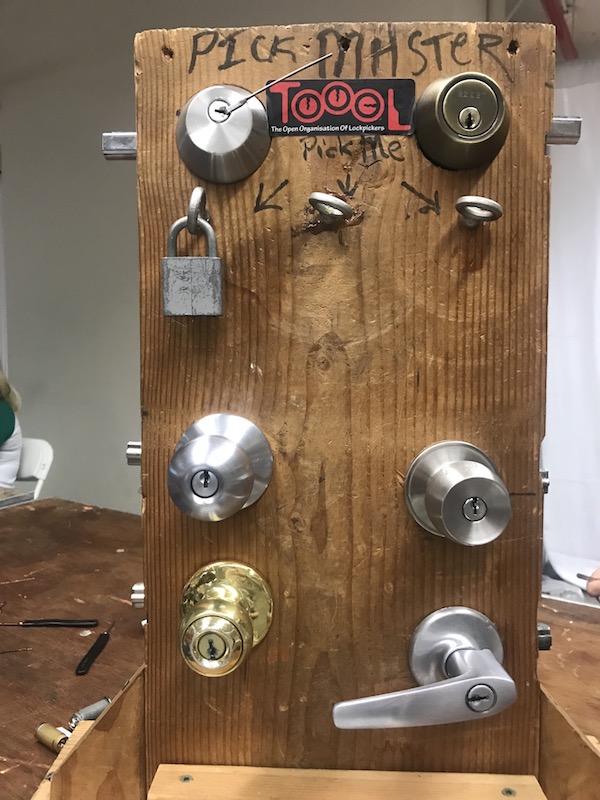
It served as the inspiration for this week’s fab assignment, which was to create 5 multiples. I imagined building something like this:
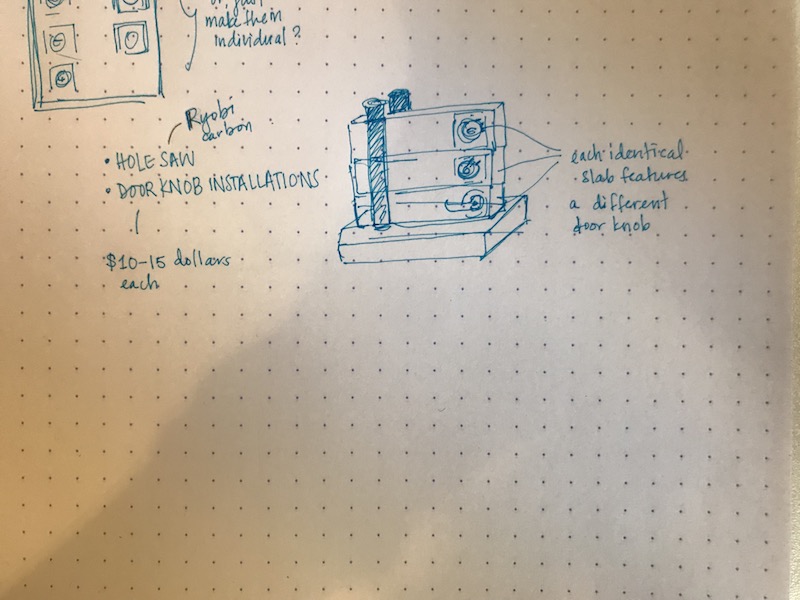
Ideally, I’d like to switch out the “picking modules” within the station (as I advance through harder sets of locks).
To get started, I needed to understand the basics of installing a doorknob.
This video was a decent introduction, though I wouldn’t have access to a specific jig made just for boring doorknob holes. With a bit of additional internet research, I learned that I would need a hole saw that I could attach to a drill (or drill press) to bore holes the sizes I needed (a 2 1/8” hole and a perpendicular 1” hole). I also realized I needed wood that was thick enough for a doorknob (preliminary research indicated that something between 1 3/8” and 1 3/4” would do.)
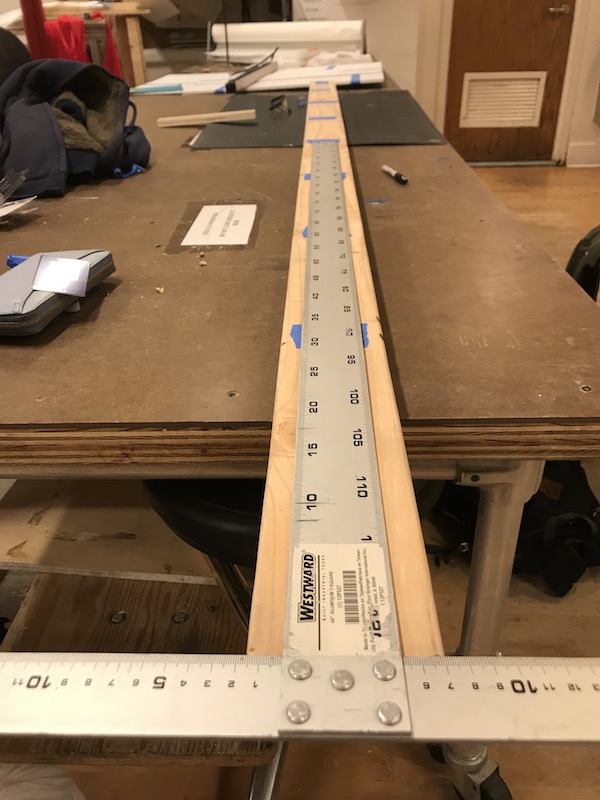
I had a very eventful trip to Home Depot. I got a 8 ft. 2”x4” and a bag full of doorknobs and padlocks… a haul that was, uh, pretty interesting to transport back to NYU.

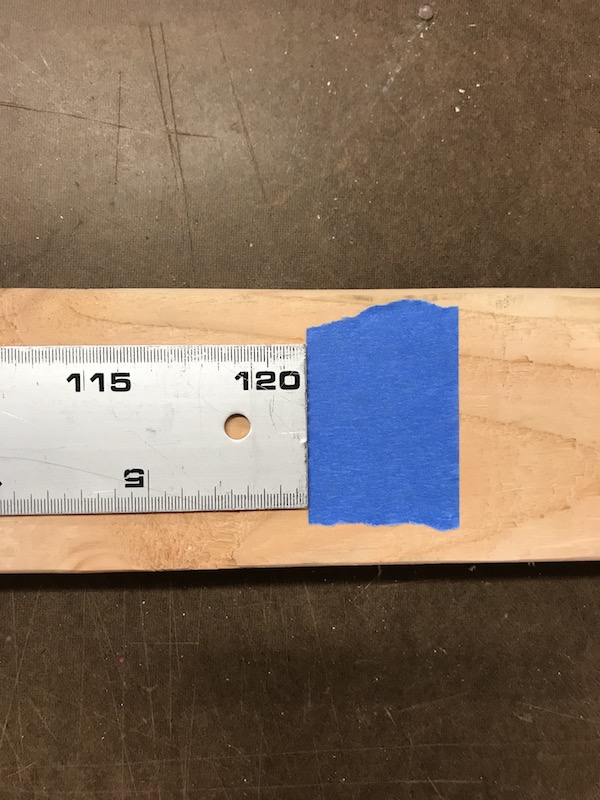
Once back in the shop, I measured out my 2x4, sectioning off 30cm at a time. I used blue tape to mark the spot where I’d cut.
I used the miter saw to chop up my 8 footer into more manageable pieces, and soon had a stack of 30 cm slabs.

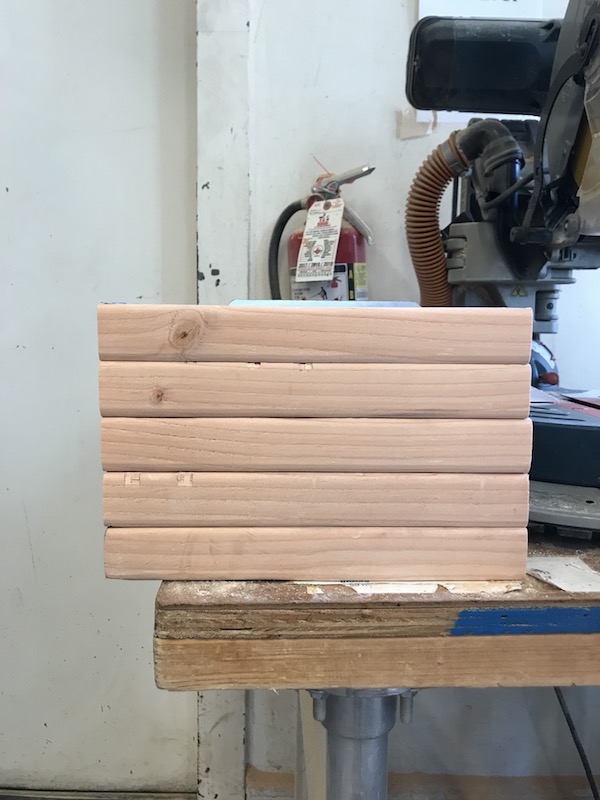
Luckily, I had a few extra slabs because once I started boring holes, my troubles really got started.
First of all, most of the hole saws in the shop are unusable. I had drilled pilot holes into my wood, but without a center bit attached to the hole saws, my drill would travel quite a bit. I ended up buying my own hole saws, and even with those, it became clear that it would be too difficult to use a hand drill. I switched to the drill press, and even then, only experienced very limited success.
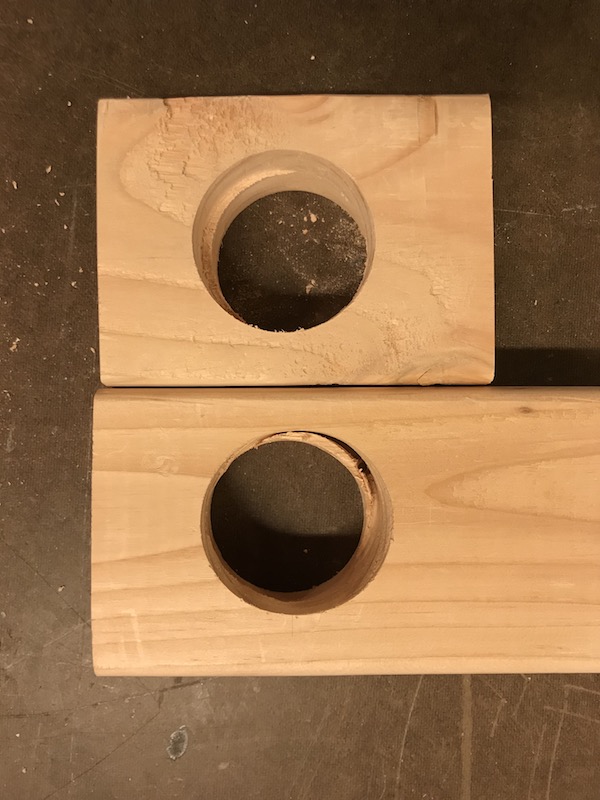
You can see the disaster of those first few attempts here:
Rough.
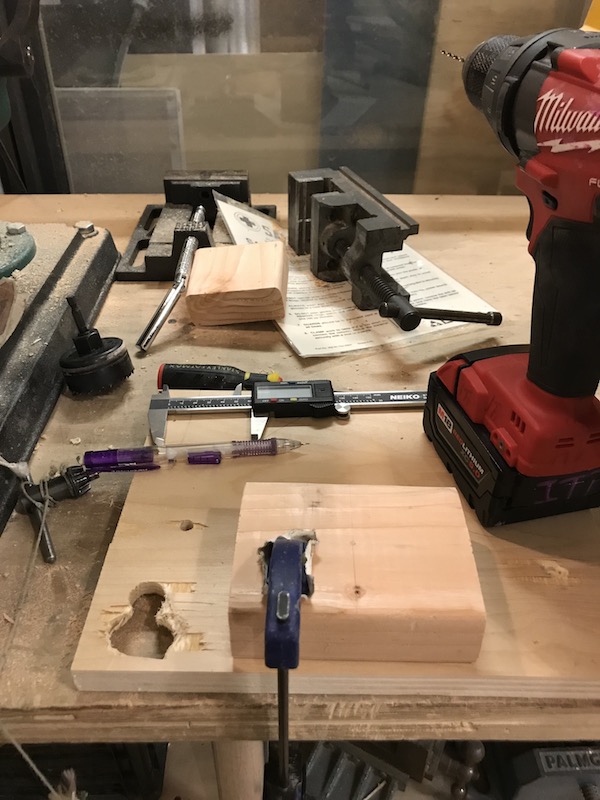
I was pretty discouraged at this point, because even when the main 2 1/8” hole was okay, the perpendicular 1” hole seemed nearly impossible. I had to stand the slab of wood vertically on the table while clamping one end, but again, hand drilling did not seem like a feasible solution.
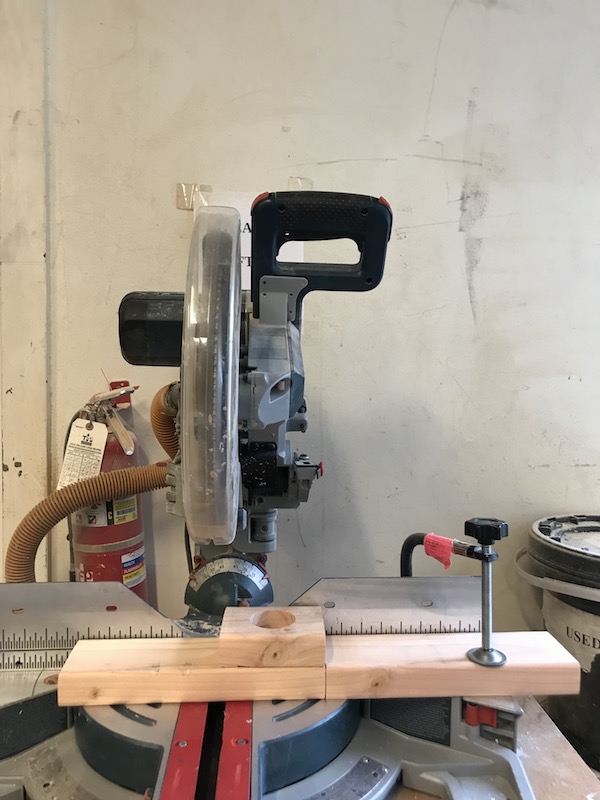
At this point, I asked John what he thought might be a better solution, and he asked if I needed my 2x4 slabs to be 30 cm. And no! I did not! That actually made it sooo much easier to work on the drill press for the 1” holes.
Once I realized that I could actually use the drill press for all my holes, I felt like I was back in business (I had briefly considered abandoning this whole misguided endeavor in favor of coasters or bookends or chopstick rests, or something).
It took a while before I was able to successfully drill a hole all the way through my 2x4. Part of the problem was I underestimated just how much the drill press platform would move. After I clamped everything down and double checked the degree adjustment on the platform I was finally able to cut hole through the smaller pieces.
Now knowing smaller 2x4 pieces were the way to go, I returned to the miter saw, and using my other slab as a job, was able to quickly cut up 5+ pieces of the same length.
Next, for each of the pieces, I measured 60mm out from the edge and drilled a 1/8” pilot hole to mark the center of my main doorknob hole. (Speed-clamping all over the place).
Once all the pilot holes were in, I started putting in all the 2 1/8” holes. As I worked, I felt like I began to better understand the language of the drill press. At a certain point, it would feel as though I had hit an impassable point and could not drill any further. After a bit of trial and error, I figured out that I had to raise the platform to allow the drill press to make better contact with the deeper material (though I lived in fear of moving the platform…). After a bit of adjustment and lots of double-checking, I was able to drill through each side of the slab.
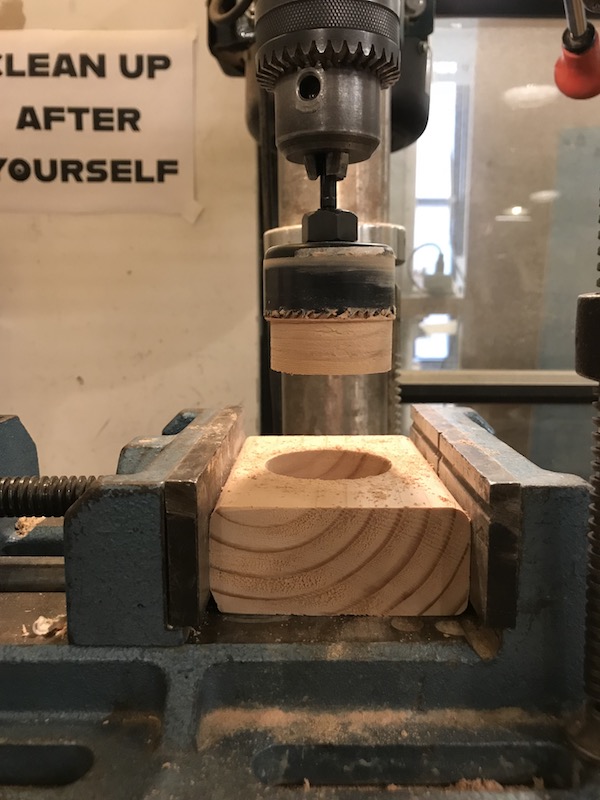
It was actually quite satisfying when the “hole” finally broke through.
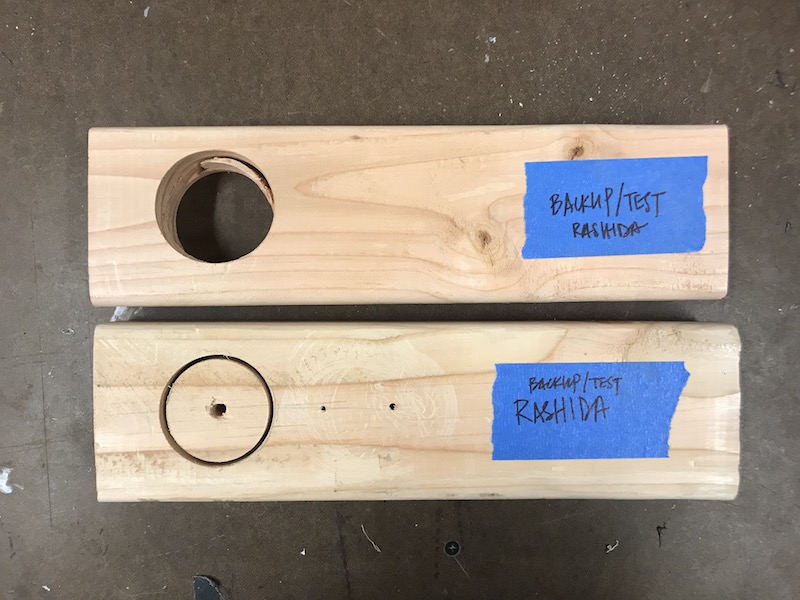
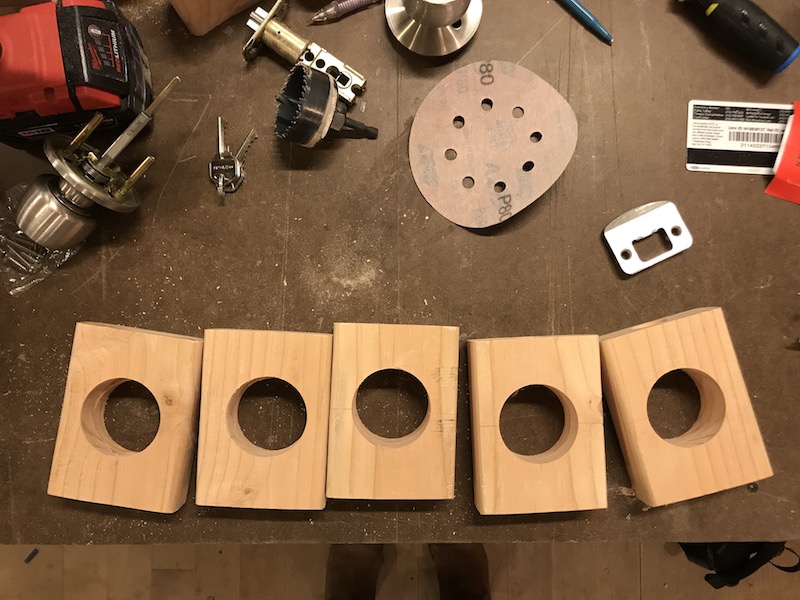
The completed prepped slabs are below:
At some point, I imagined having installed the doorknobs before class, but I think that will have to wait. The process outlined above spanned the space of several days and many chasms of despair and uncertainty.
But it was a lot of fun seeing myself get better at something, over a relatively short window of time.