
For our Kinetic Energy project, we decided to create a chore wheel for the ITP kitchen!
Fabrication
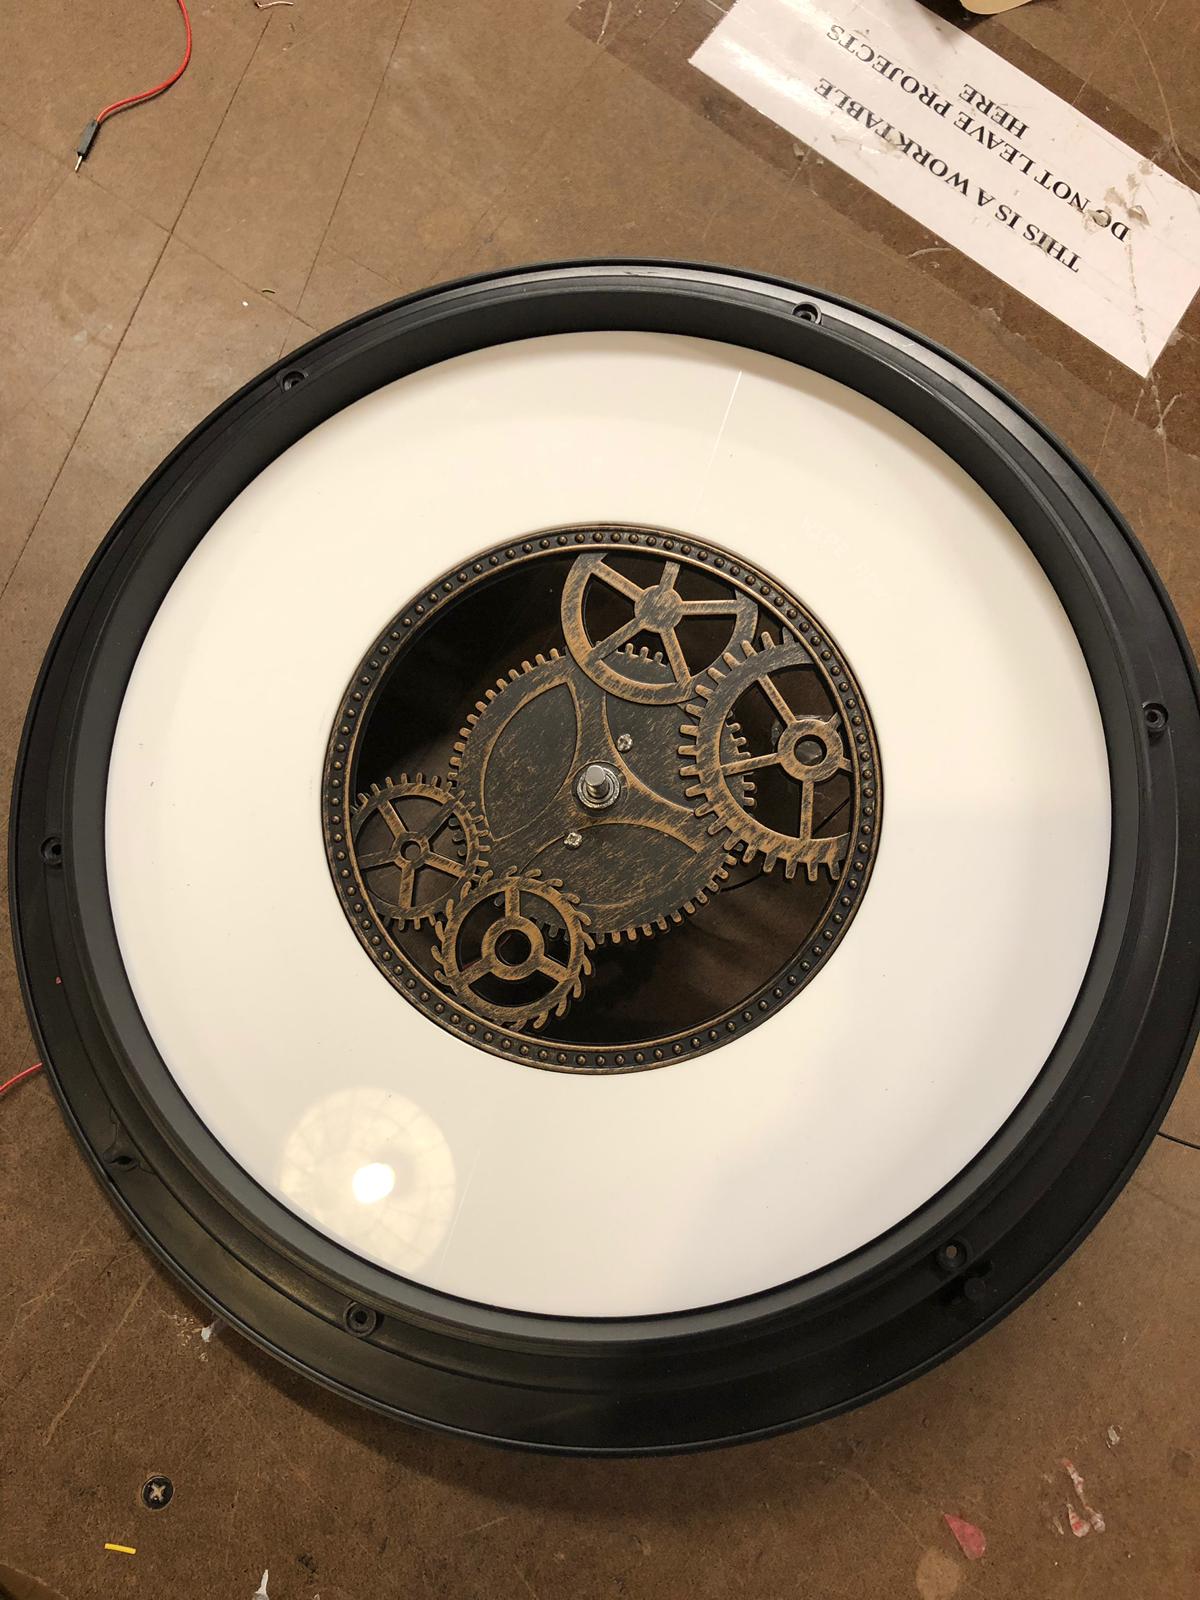
We purchased a wall clock from K-mart, and removed the hands and some of the decorative elements. We fitted a 100 RPM geared DC motor through its center, attaching a handle of wood to the motor using a mounting hub. We added a white acrylic to the face of the “clock,” replacing the numbers of the clock with chores!
This is what it looked like before we added in the lettering:
Electronics
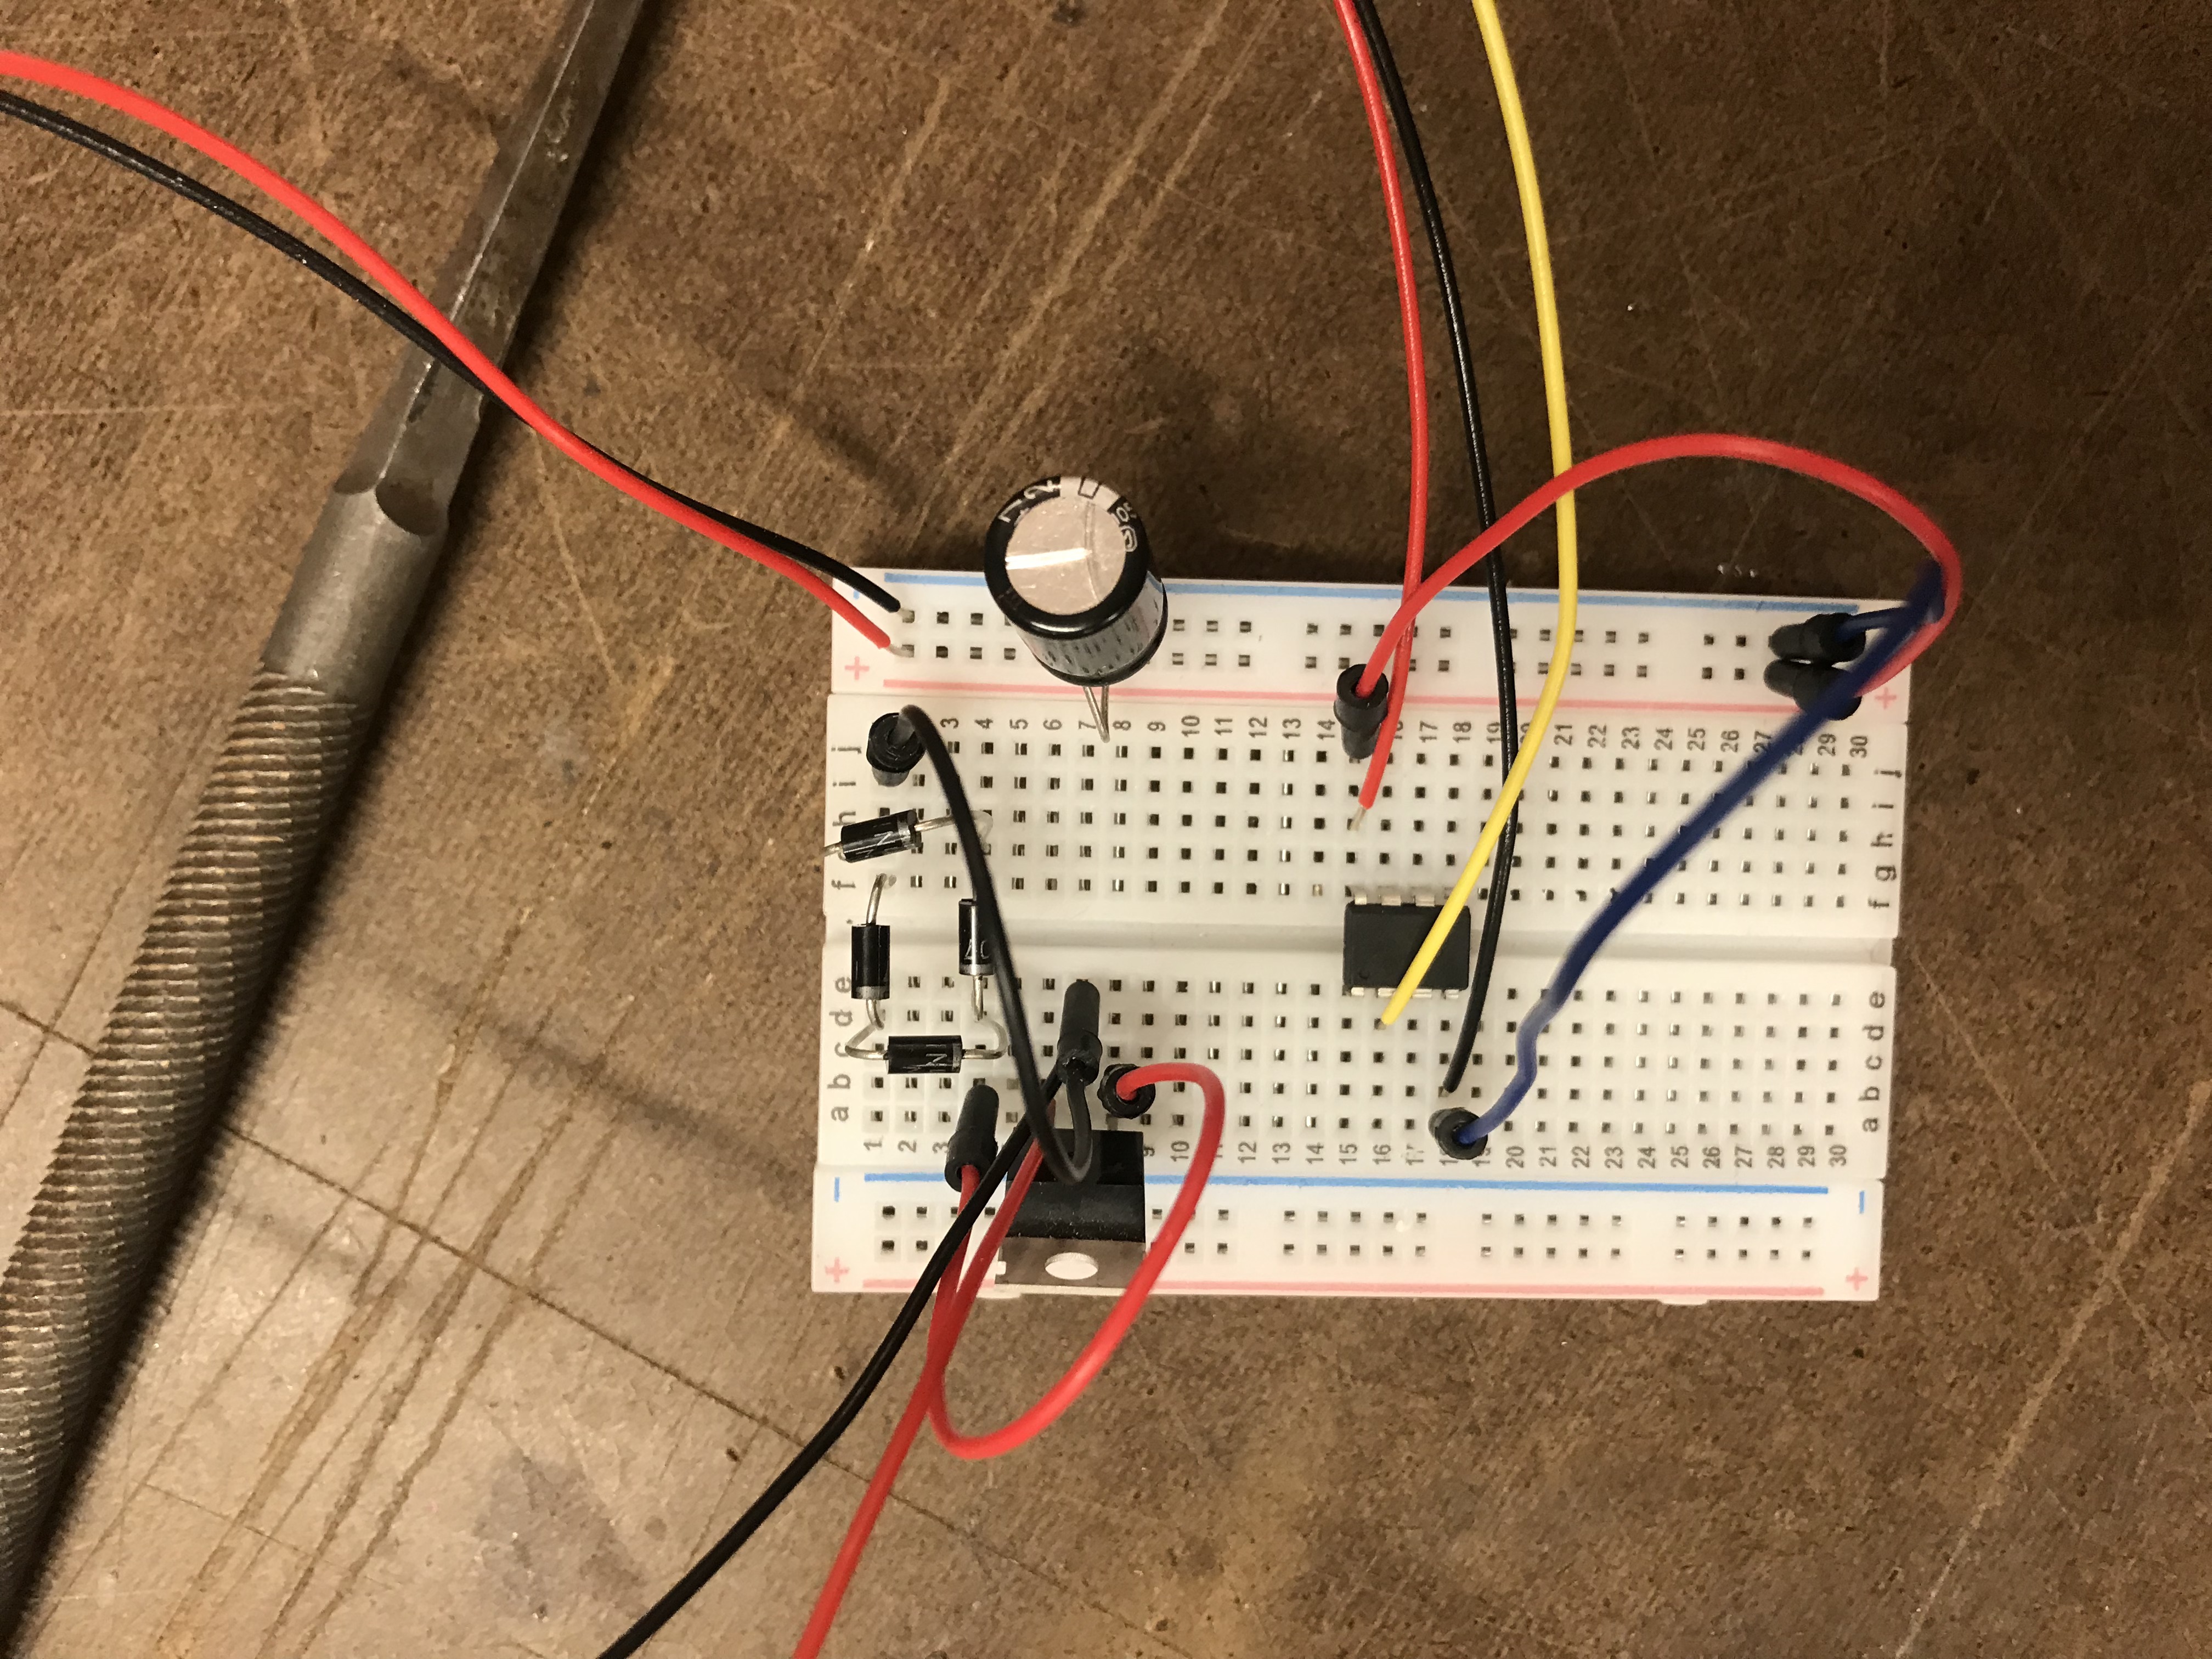
To build our circuit, we started with the rectification circuit from Jeff’s video. Initially, we considered powering a series of LEDs that blinked as a few capacitors in parallel charged and discharged. However, we wanted more control over the behavior of the LEDs (but wanted to avoid overcomplicating our analog circuit). We decided to experiment with powering an ATTiny85 (I have had a bit of previous experience playing around with those).
We added a voltage regulator to the rectification circuit, and dropped down to one 470 mF capacitor. We ran a few experiments with running simple programs (such as Blink) on the ATTiny, and then finally, strandtest from the Neopixel sample code.
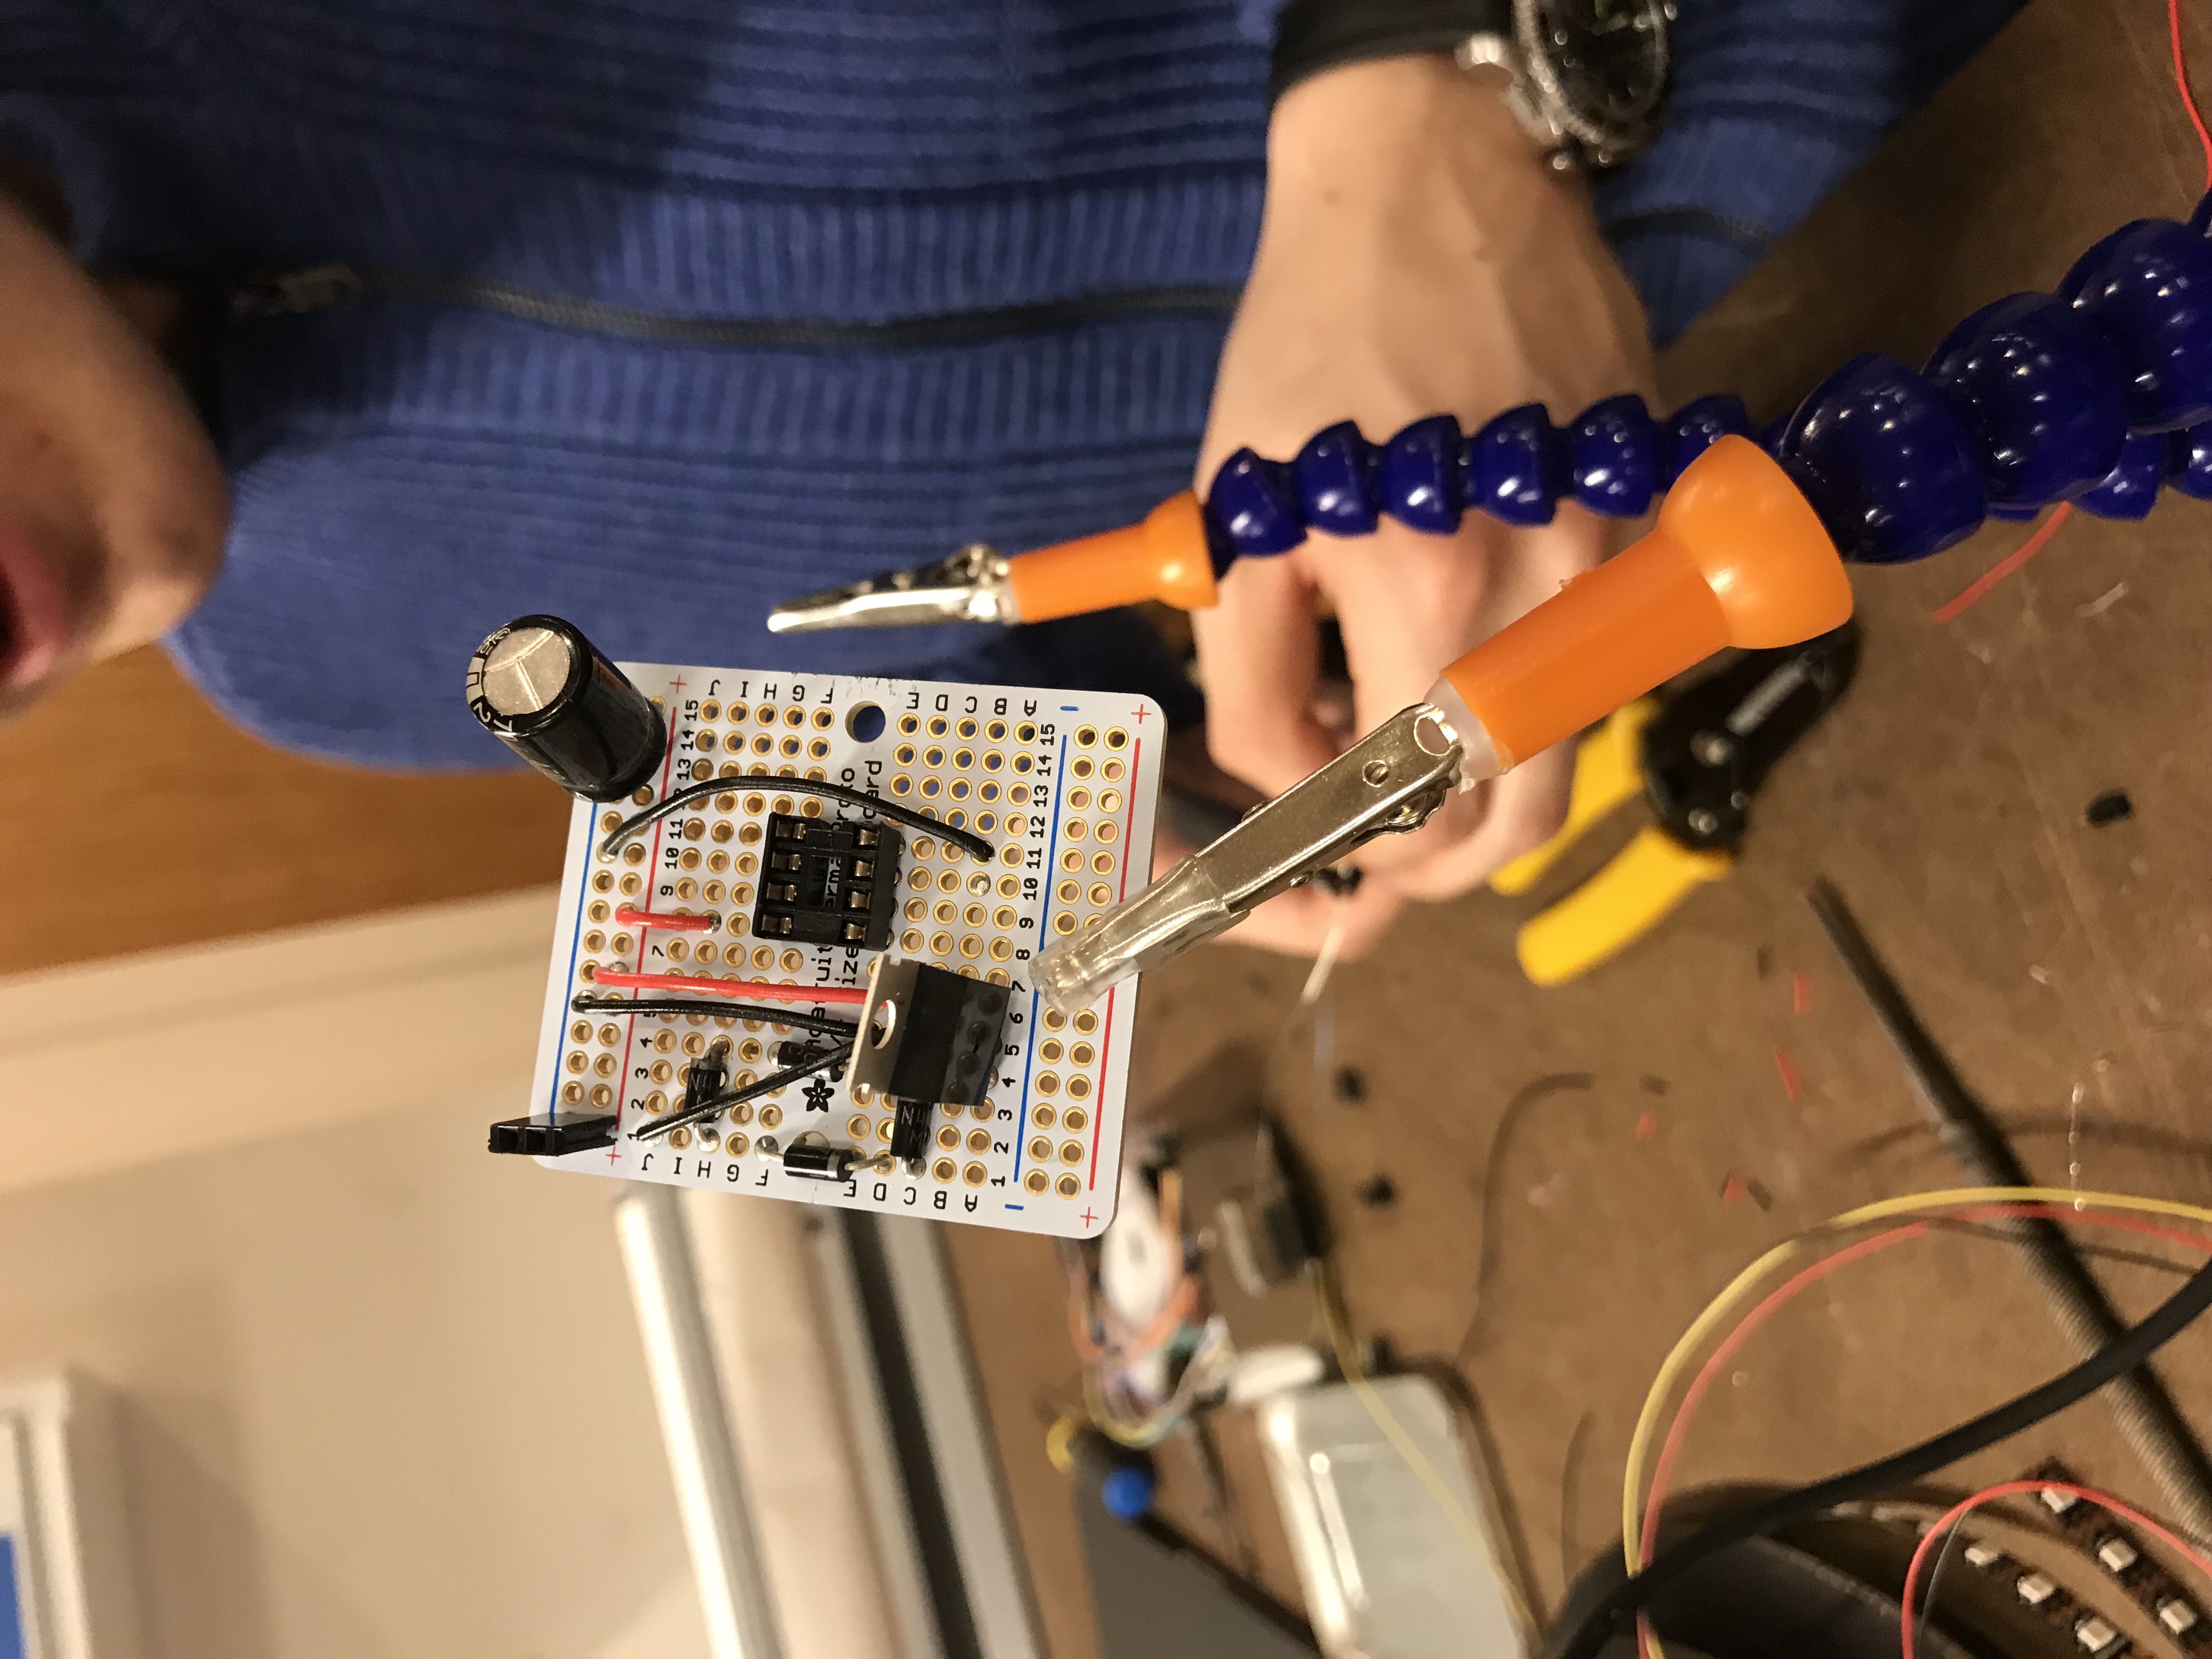
Once we had the circuit working, we soldered it onto some perfboard.
Code
Timothy put together this bit of code for animating our Neopixel strip:
#include <Adafruit_NeoPixel.h>

#define NUM_LEDS 51
#define STRIP_PIN 3 // change that

unsigned int timeStamp = 0; // milliseconds
int timePeriod = 200; // milliseconds
byte LEDPosition = 0;
byte nextNum = 0;
byte chance = 2; // 2%
bool active = true;

Adafruit_NeoPixel pixels = Adafruit_NeoPixel(NUM_LEDS, STRIP_PIN, NEO_GRB + NEO_KHZ800);

void setup() {
  pixels.begin();
  delay(10);

  randomSeed(analogRead(2));
  delay(2);
  timePeriod = random(30,150);

}

void loop() {
  if (millis() - timeStamp >= timePeriod && active){
    pixels.clear();
    delay(10);
    if (LEDPosition >= 0 && LEDPosition <= NUM_LEDS-5) {
      pixels.setPixelColor(LEDPosition, pixels.Color(255,255,255));
      pixels.setPixelColor(LEDPosition+1, pixels.Color(255,255,255));
      pixels.setPixelColor(LEDPosition+2, pixels.Color(255,255,255));
      pixels.setPixelColor(LEDPosition+3, pixels.Color(255,255,255));
      pixels.setPixelColor(LEDPosition+4, pixels.Color(255,255,255));
      pixels.setPixelColor(LEDPosition+5, pixels.Color(255,255,255));
    } else {
      pixels.setPixelColor(LEDPosition, pixels.Color(255,255,255));
      for(int i=1; i<=5; i++){
        nextNum = LEDPosition+i;

        if (nextNum > NUM_LEDS){
          nextNum-=NUM_LEDS+1;
        }

        pixels.setPixelColor(nextNum, pixels.Color(255,255,255));
      }
    }
    pixels.show();
    LEDPosition++;
    if (LEDPosition == NUM_LEDS+1) {
      LEDPosition = 0;
    }
    if (random(0,100) <= chance){
      active = false;
    }
    timeStamp = millis();
  }
}
We ran into an interesting problem with our random function on the ATTiny85 – it simply wasn’t as random as one would hope (the chore wheel always stopped at the same point). We looked into how random functions on the ATTiny85, and realized that was not truly making new random numbers each time the function was called. To rectify this issue, we added randomSeed(analogRead(2)); to our setup() to read in a few “random” values on our analog pin. This improved the behavior of the random function.
Here’s how it all came together: