
Lydia Jessup and I are starting a new adventure where we try to make something in Blender for 50 days. Blender has long been on my list of must-learn software – it seems essential to everything I might be interested in doing, from 3D maps to IG filters to my AR cookbook!
I’m going to (for the most part) focus on that last project, because it is a lifetime dream of mine: to publish a series of augmented reality cookbooks. (Ideally, I would want those cookbooks would include both 3D models, as well as user-submitted photogrammetry, but that is another beast altogether). For this 50-day sprint, this focus will mean that I am primarily interesting in making food-related objects that would concievably fit into those cookbooks.
That is the lofty dream, immediately humbled by this day’s foray into actually trying to learn Blender. I focused on this set of beginner tutorials from The CG Essentials on YouTube. Already a fan of this account because the tutorials are short enough that they are not overwhelming. I ended up watching all of the tutorials in this playlist, and making the worst possible 3D modelled confectionaries I have ever seen in the world:
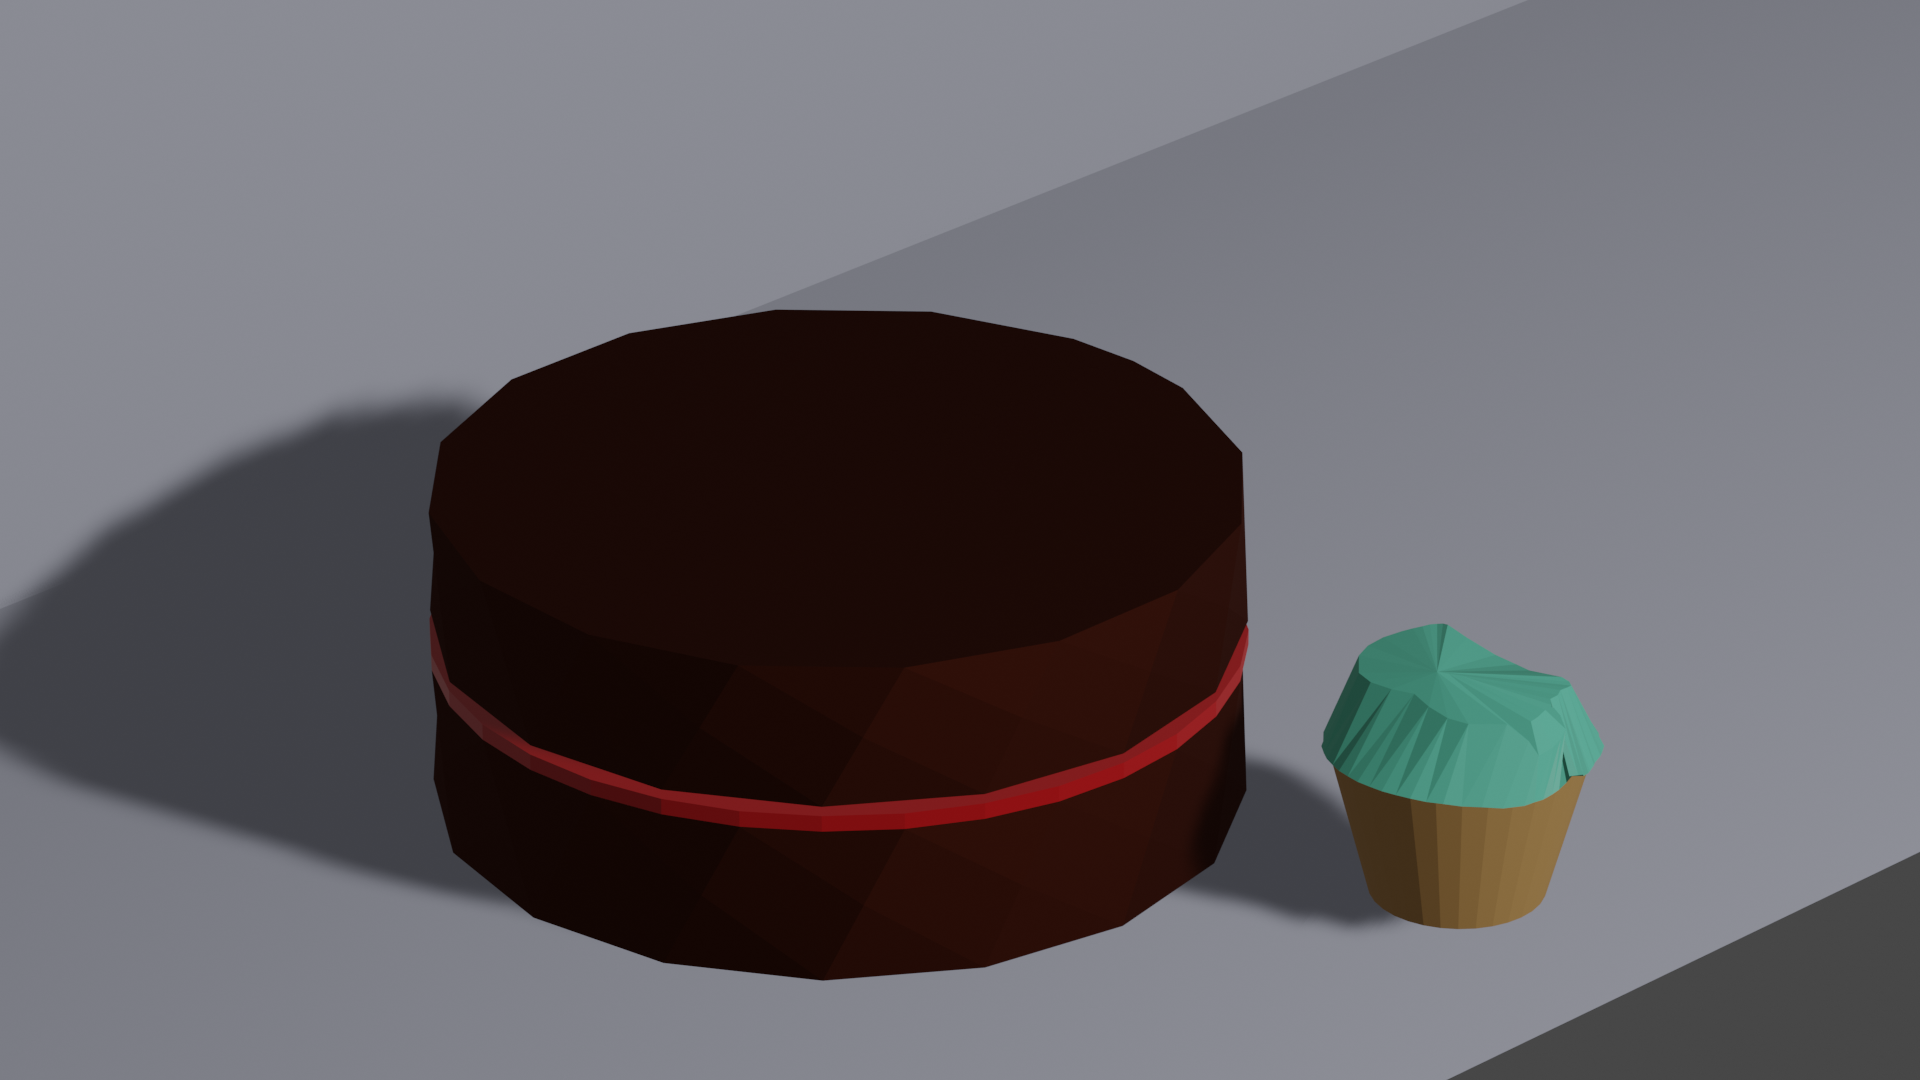
Truly heinous.
Nowhere to go but up!
Some keyboard shortcuts I learned:
g: move tool, hitx,y, orzto move only along that axis. useShift+ any of those letters to exclude that axis.z: shading optionsTab: to toggle between Object and Edit modesr: rotate tools: scale toolShift + a: add an objecte: extrude (edit mode)i: inset tool (edit mode)3: face selection mode (edit mode)2: edge selection mode (edit mode)1: vertices selection mode (edit mode)Ctrl + r: loop cut (edit mode)x: delete
Other random things I learned:
- Blender will place objects where your 3D cursor is.
- Edit mode allows you to add materials to individual faces, whereas Object mode applies the material to the whole model.
- Modifiers like “Mirror” live in the righthand panel (name??) – toggle clipping to prevent extra geometry.
- To taper, you can just select one face of an object, and then scale it.
- You can download free textures from Texture Haven and Poliigon.
- To render, you need a light in your scene!
- Two render engines in Blender: (1) eevee and (2) cycles. (1) is fast, good for approximate. (2) is a path tracer (literally calculating the path of the light in the scene), slower but more realistic.
I also have some notes pertaining to how to apply textures using the node editor. But in all honesty, did not get very far into that topic, so we’ll have to save that for another day.